Insulation Finale
The blower door test didn’t go so well. Initial was a 3.32 @ ACH50 which is quite poor. The insulation folks came in and did a bunch of stuff and said they got it down to 1.8 which is still not too great. We’d been told that we could expect around 1.0 in the finished house which is what I’d like. In general sheetrock and paint will get about .2 or .3 so with our current 1.8 we should hit about 1.5 @ ACH50. That’s disappointing.
This past week was the third round of insulation. This is for two purposes; insulate the sides of the studs and other wood members to reduce thermal bridging and reduce noise/echo in the house.
Wood transmits heat better than air and massively better than any kind of insulation. So every wood stud in a house acts as a ‘thermal bridge’ that sucks warmth out in winter and brings in heat during summer. A couple of options for reducing this are external insulation or double offset stud walls, neither of which we did. A newer option is the TStud but it is still somewhat unproven and for builders like Hendel and architects like Murphy & Co comes with some concerns about structural integrity.
The closed cell spray foam we’ve used is a bit over 2” thick which leaves about 3” of exposed side of studs which is a good chunk of thermal bridging energy ineffiency. Filling out the rest of the wall cavities with insulation will help reduce the thermal bridging. Interestingly, without the extra blown-in insulation this house would be more energy efficient with 2×4 stud walls than 2×6.
A lot of the interior walls also have fiberglass batts which will help reduce noise and echo.

There is still water coming in in three places. Hope to get these resolved soon.
Ladder from garage to the storage room over the garage.
Look closely at the rail on our landing (or click for a larger image). 
A dented duct. Hopefully this was fixed before insulation was blown in. The netting is to hold the insulation.
Bob marked where columns will be on the porch.
Three trucks of equipment for blowing insulation in to the walls and ceilings. One of them is high pressure and used for ceilings while another can be turned to for filling the wall cavities.
Jim blowing insulation in to the ceiling cavity above the family room. This is primarily for noise reduction but will also help with energy efficiency.
Filling a wall cavity.
They put fiberglass batts behind speaker locations.
A couple of large ducts for Make Up Air (MUA). The near one is 14” for general MUA for things like fireplaces. The larger one is 18” (inside) which is 1200 CFM MUA for our range hood.
This area above our kitchen didn’t get filled properly. They came back the next day and filled it out. 
John from Centerpoint Energy operating the trench machine. John’s family is quite prominent in the area and once owned the NE portion of our lake and use it as a public beach. Some years ago I met his great uncle Louis who told me about when he use to sit at the gate and collect a nickel for each carload of people. 
The trench machine buries the gas line and then a few inches above that is a tracer wire and a few inches above that is a warning tape. They want to make sure that nobody accidentally digs through the gas line.
Continuing with insulation.
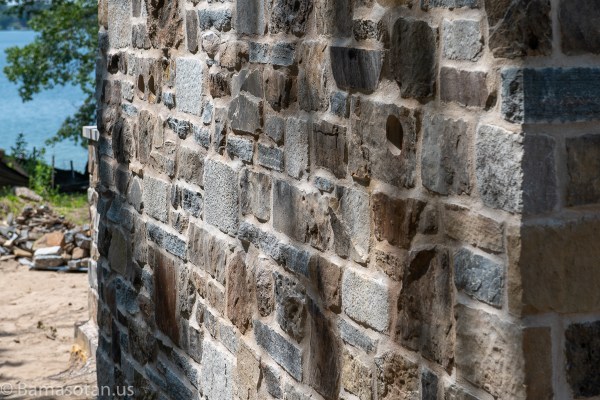
Three vents bored in to the stone below the conservatory. One is a fresh air inlet. Next is a powered exhaust fan for the interior shower and finally is natural convection exhaust for the sauna.
The larger box is the air inlet for the 1200 CFM Range Hood MUA. Next to that is the air inlet for the 800 CFM MUA.
Twenty additional brick samples arrived. They did not match the six we’d chosen. A new sample batch is on its way. These are for the patios, steps and conservatory floor that were originally to have been bluestone but had to be changed since we neglected to check the exterior paint sample against the bluestone.
Steel beam in the lower level guest room. This will transmit cold quite well so we’ll need to get some insulation below it.

Recent Comments